RecoverXData User Guide
RecoverXData is a useful computer data recovery tool that not only helps recovering the deleted, lost and cleaned file from computer hard disk, desktop, and Recycle Bin, but also helps retrieving data on external devices connected to PC, e.g. HDD, SSD, USB flash drive, and (phone/camera) SD Card. RecoverXData is an easy-to-use and effective data recovering software. Please check the following user manual for how to use it.
Where to download RecoverXData?
Please download the Free version from the button below.
Free DownloadThe free version will help you find what data you can recover from the computer or connected external devices. And also you can purchase the full version and register from this free version.
1. Software Menu
In this section, you will find the options and usages of the software menu.
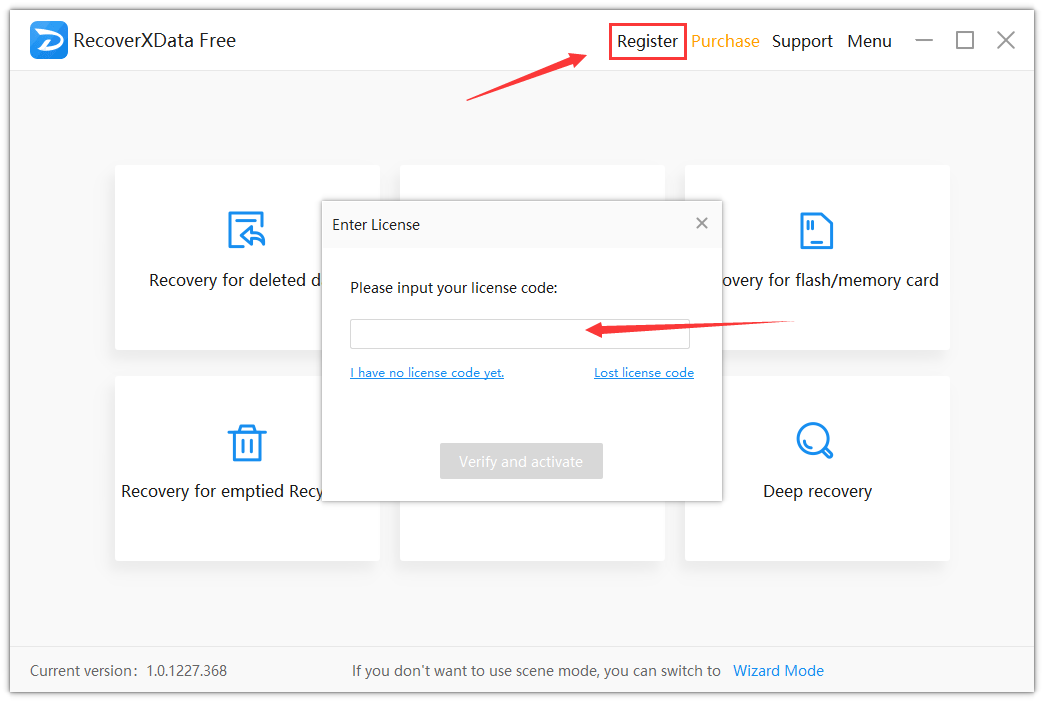
1.1 Register
After you finish the payment, you will get your License code in your email within 24 hours. And then, you can press on “Register” on the software menu, insert the license code, and register.
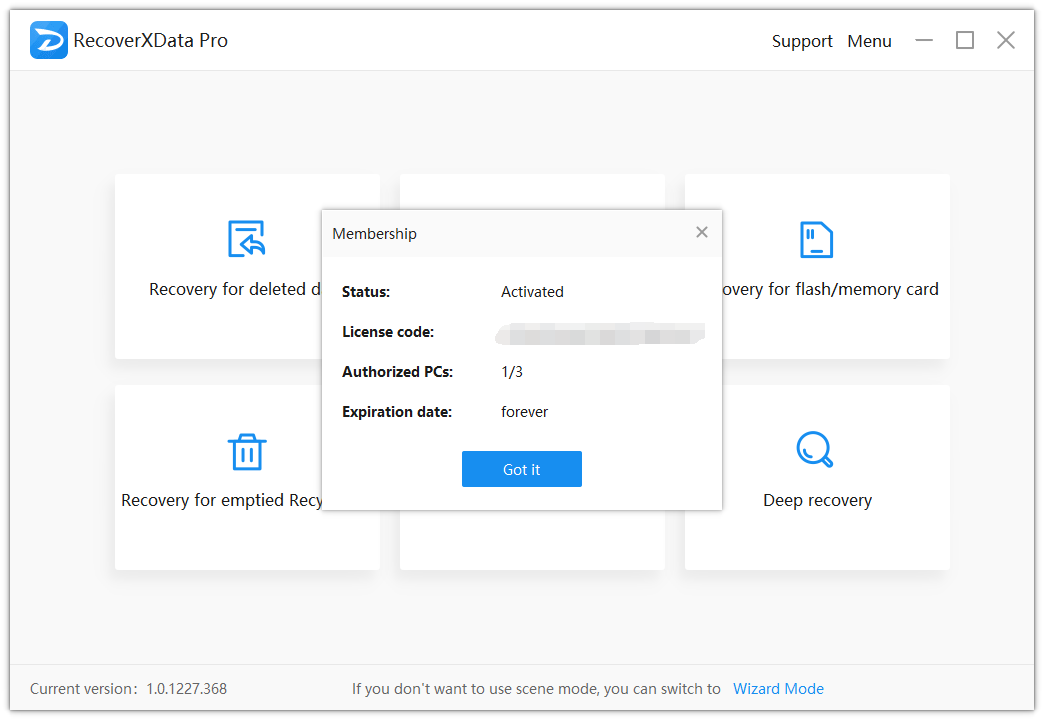
And then you can check your membership and the license code status. To find the membership again, you can go to Menu>>Membership.

1.2 Purchase
To purchase the software, you can either press the “Purchase” option on the software menu or click here and go to the purchase page to buy a full version.
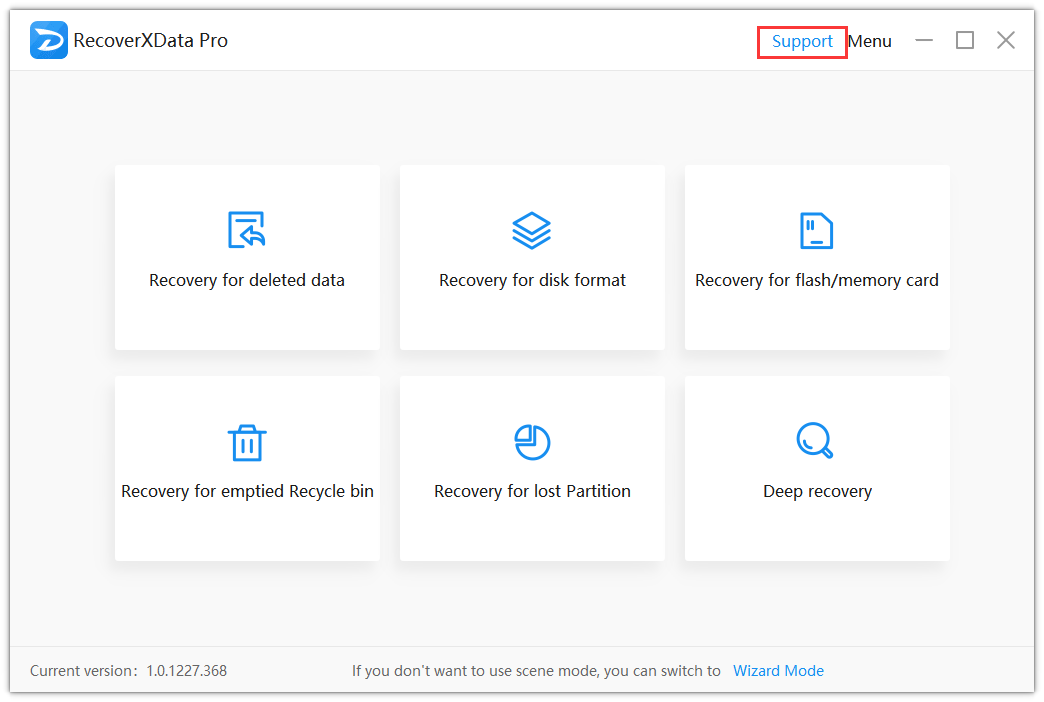
1.3 Technical Support
Press on the “Support” option on the software menu, you can send emails to us for help. We will answer you in 24 hours on business days.
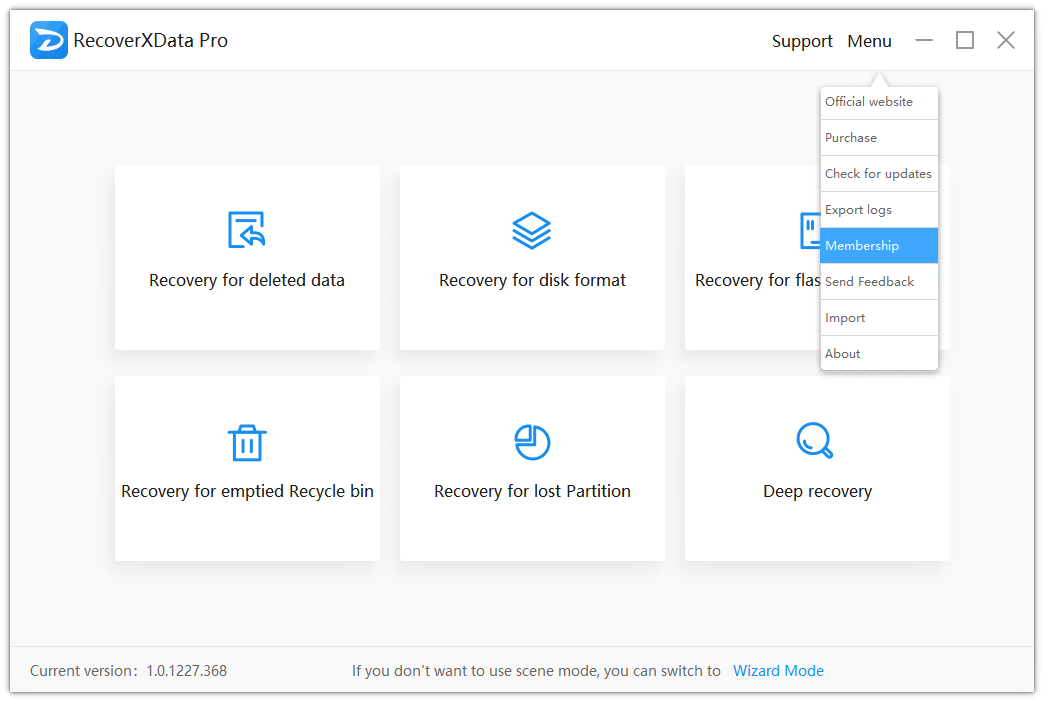
1.4 Menu
1.4.1 Official Website
Press on Menu>>Official website, and you can visit the official website of RecoverXData where you can find guides, FAQs, and more details of RecoverXData.
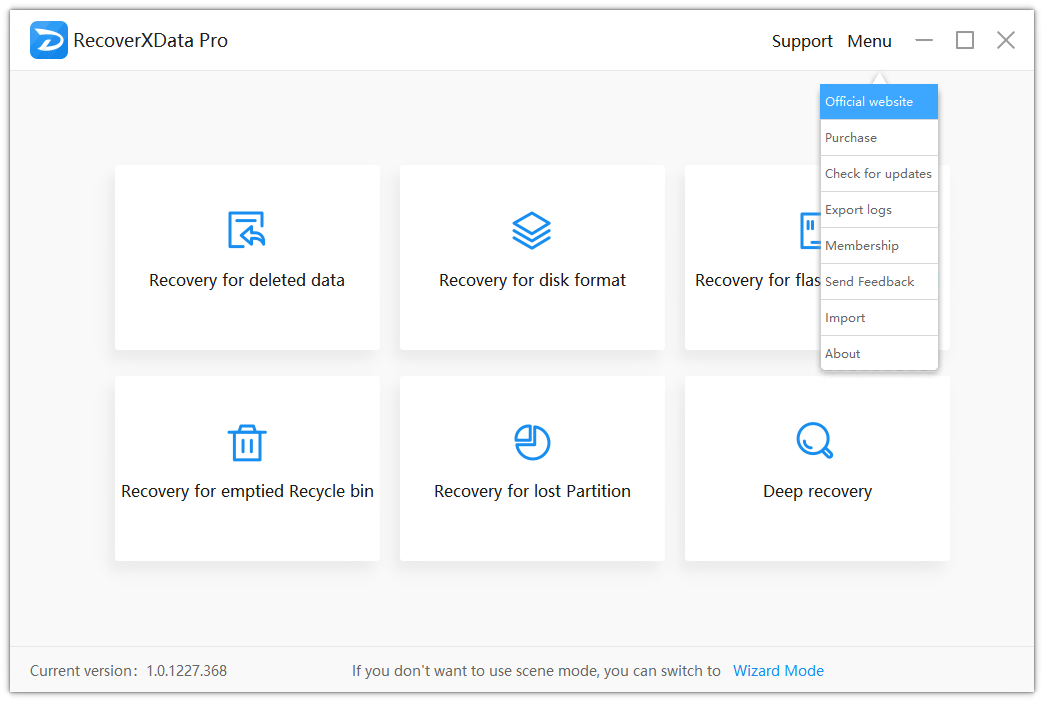
1.4.2 Purchase
To purchase other memberships or renew the software, you can go to Menu>>Purchase or click here and go to the purchase page to buy a full version.
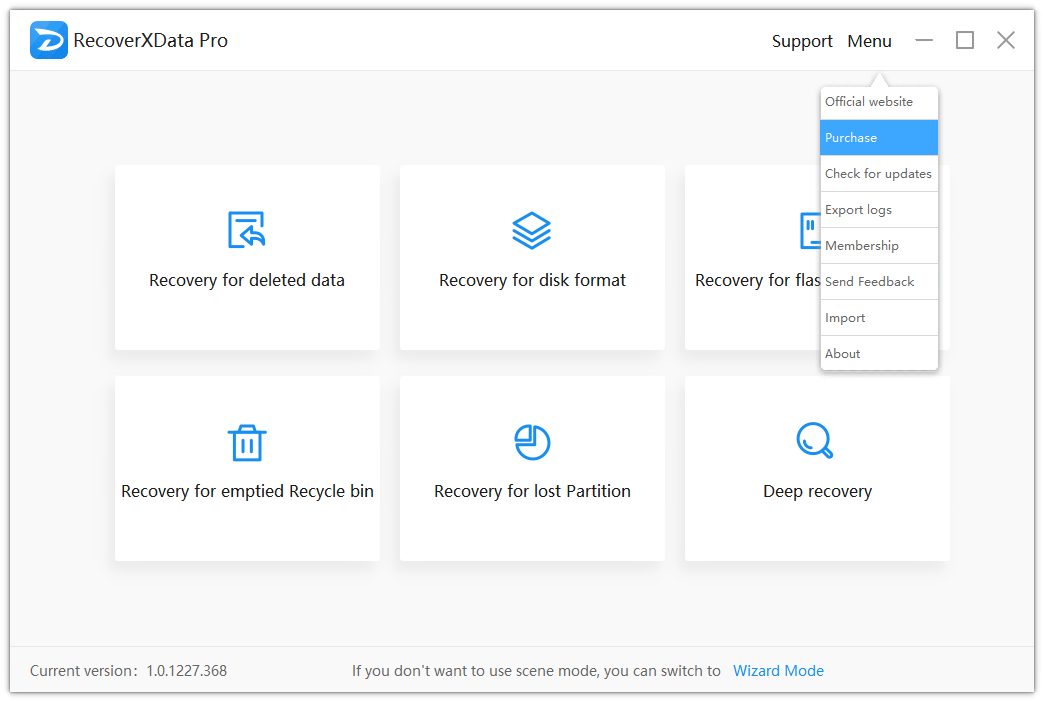
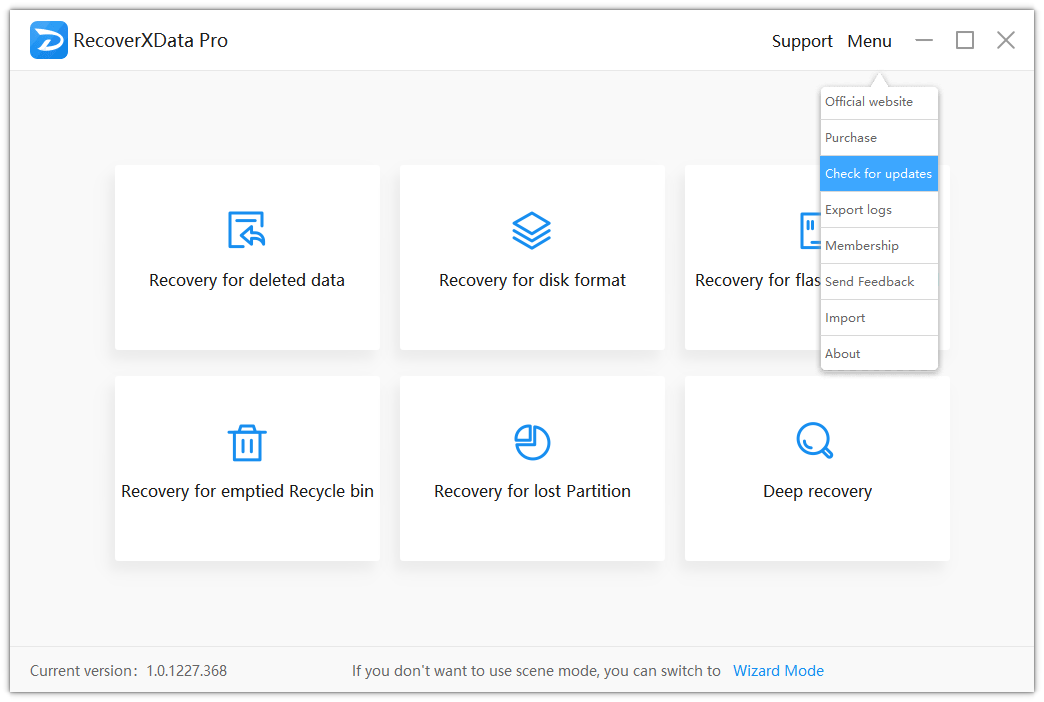
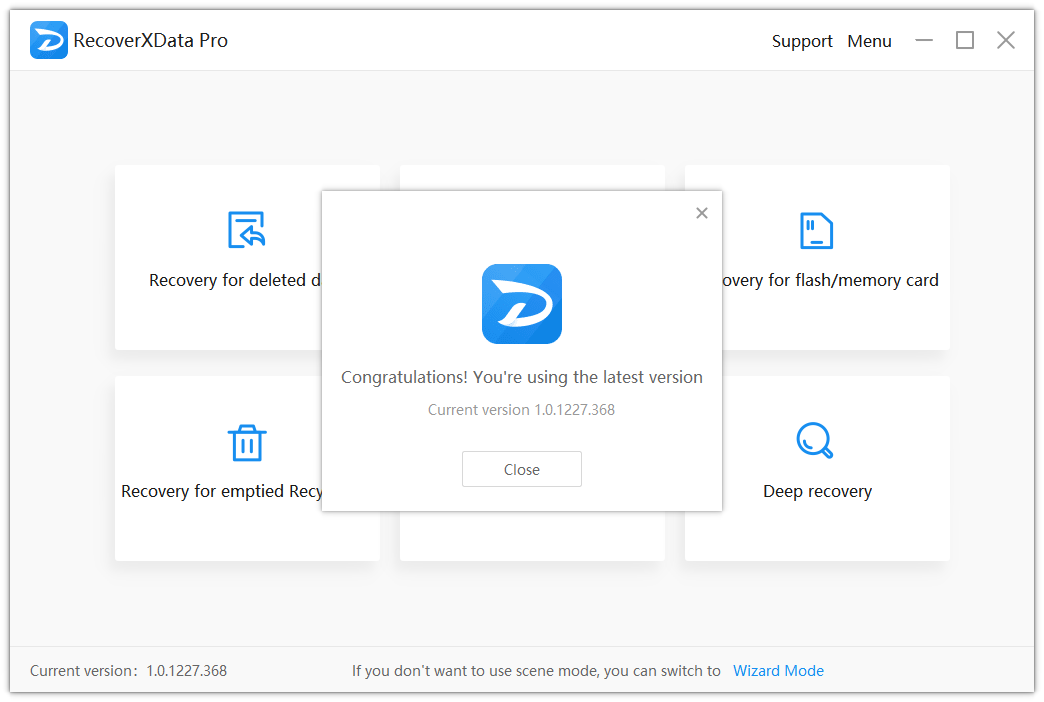
1.4.3 Check for updates
To confirm that you are using the latest version, please got to Menu>> Check for updates to keep updated.
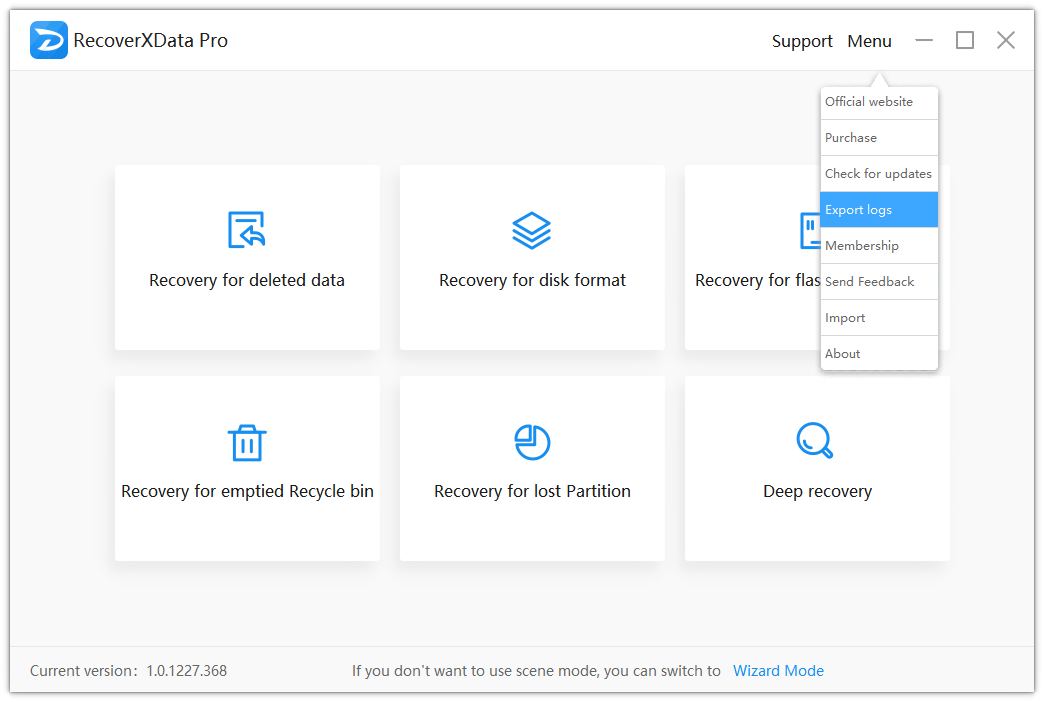
1.4.4 Export logs
Sometimes when you got errors while using the software, you can go to Menu>>Export logs, and send us the logs via email. Our technical support will help you.
1.4.5 Membership
To check the validation of your License code or subscription, please go to Menu>>Membership.
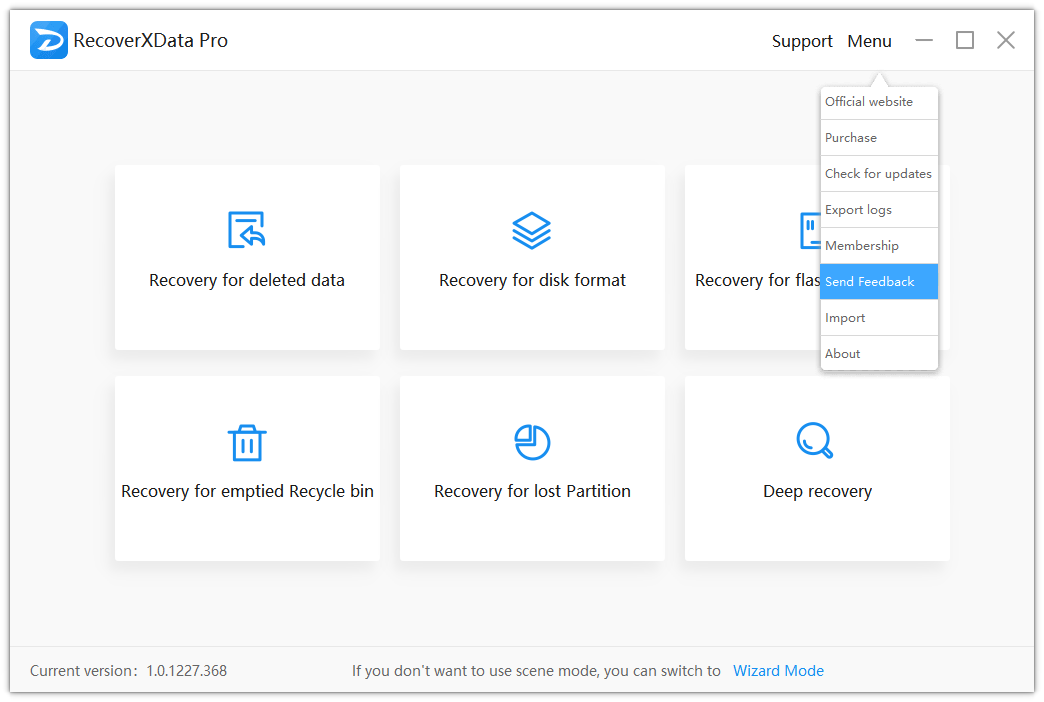
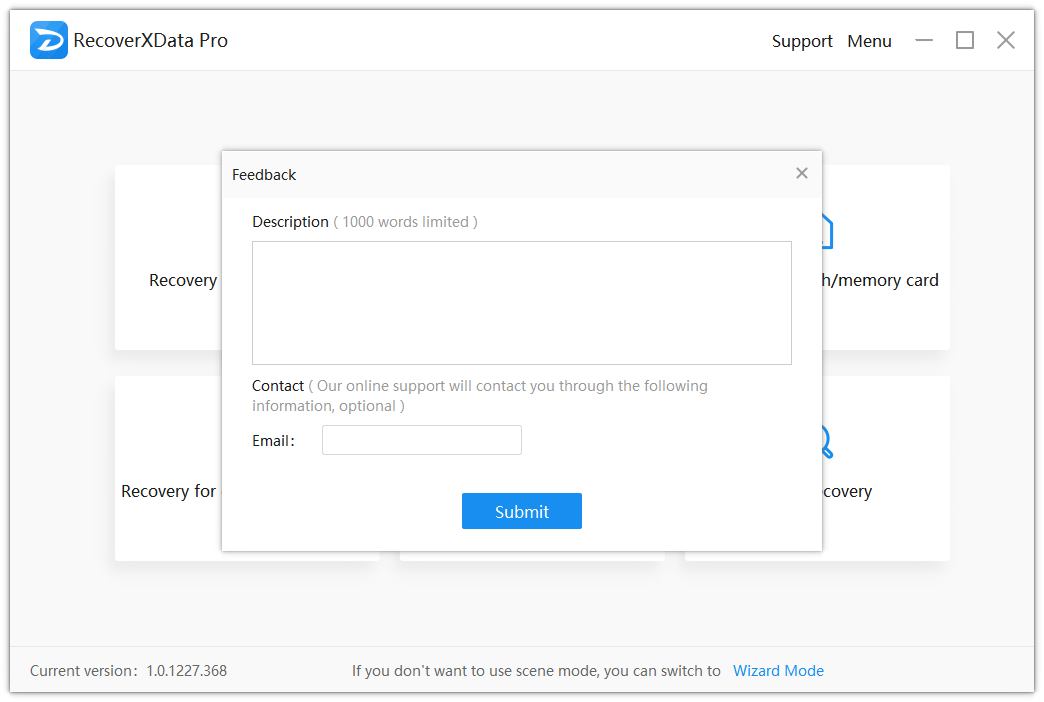
1.4.6 Send Feedback
If you hope to send feedback to us, please go to Menu>>Send Feedback. Or you can send emails to us.
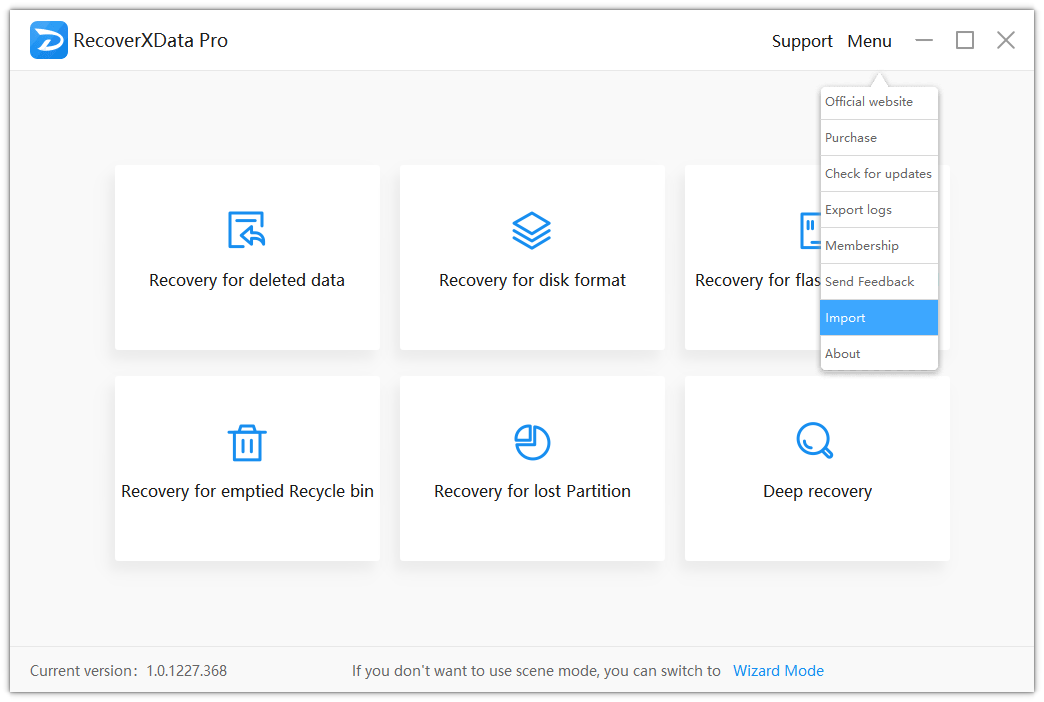
1.4.7 Import
Go to Menu>>Import, and then you can import the scanning result of last time so that you needn’t spend time scanning again.
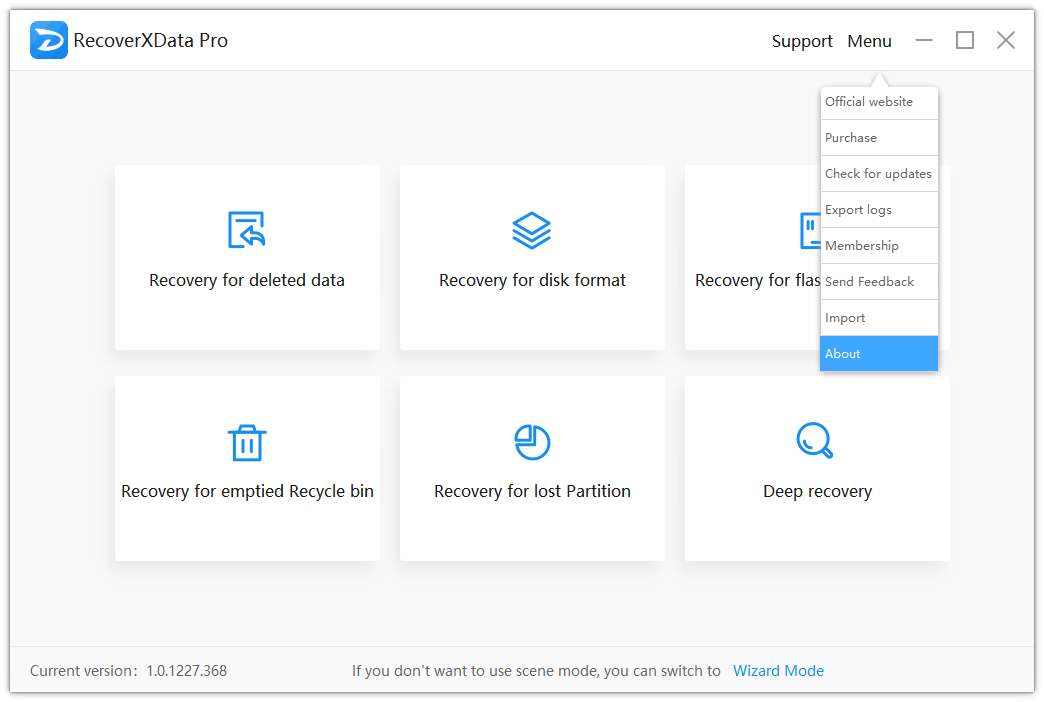
1.4.8 About
Go to Menu>>About, and you can check software information, such as version, official contact info, company, etc.
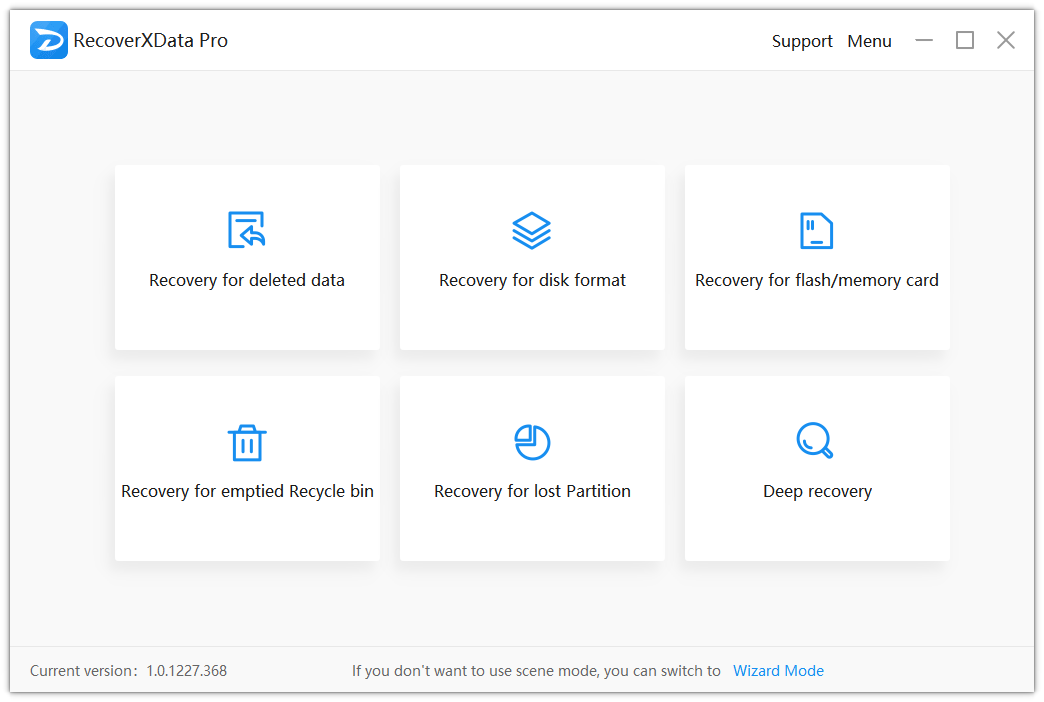
2. Main Interface
On the main interface of RecoverXData, you can recover data according to your own need, such as Recovery for deleted data, Recovery for disk format, Recovery for flash drives, Recovery for emptied Recycle bin, Recovery for lost Partition, etc. And if you cannot find the lost data, you can also use the Deep recovery option to run a deep scanning. And also you can switch to Wizard Mode to recover lost data.
2.1 Scene Mode
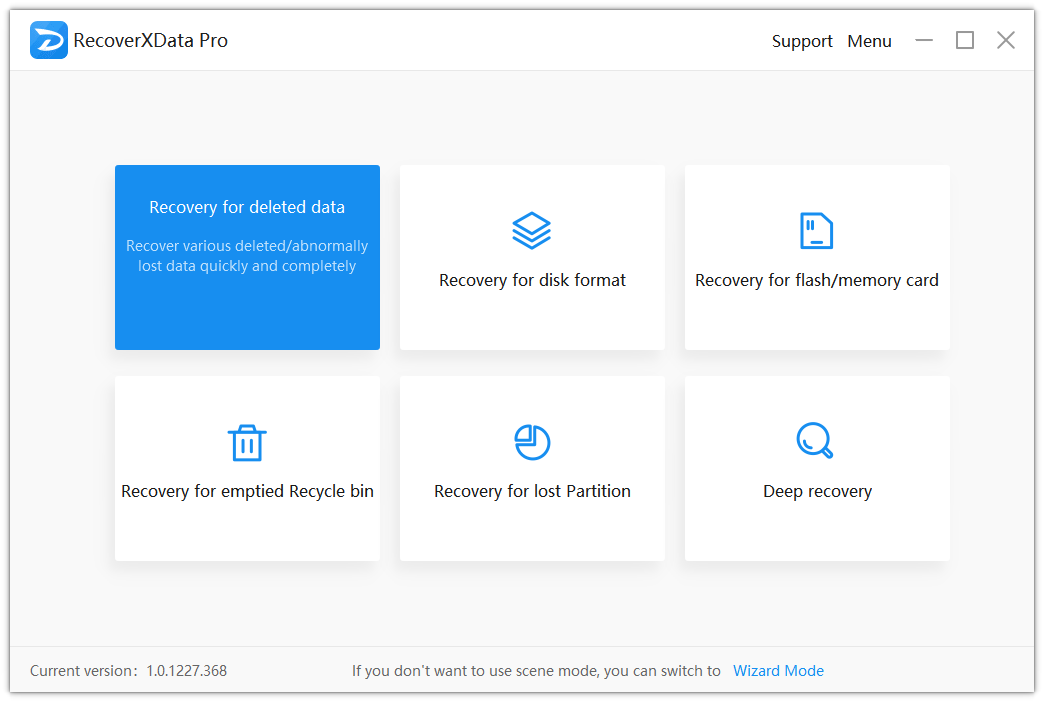
2.1.1 Recovery for deleted data
This option will help you scan and find the lost files or videos in a fast and accurate manner. It will recover the file contents before being modified.
2.1.2 Recovery for disk format
This section will help you run a deepened scanning for the formatted partition to find erased data. It helps recover file abnormalities, garbled characters and other abnormal conditions.
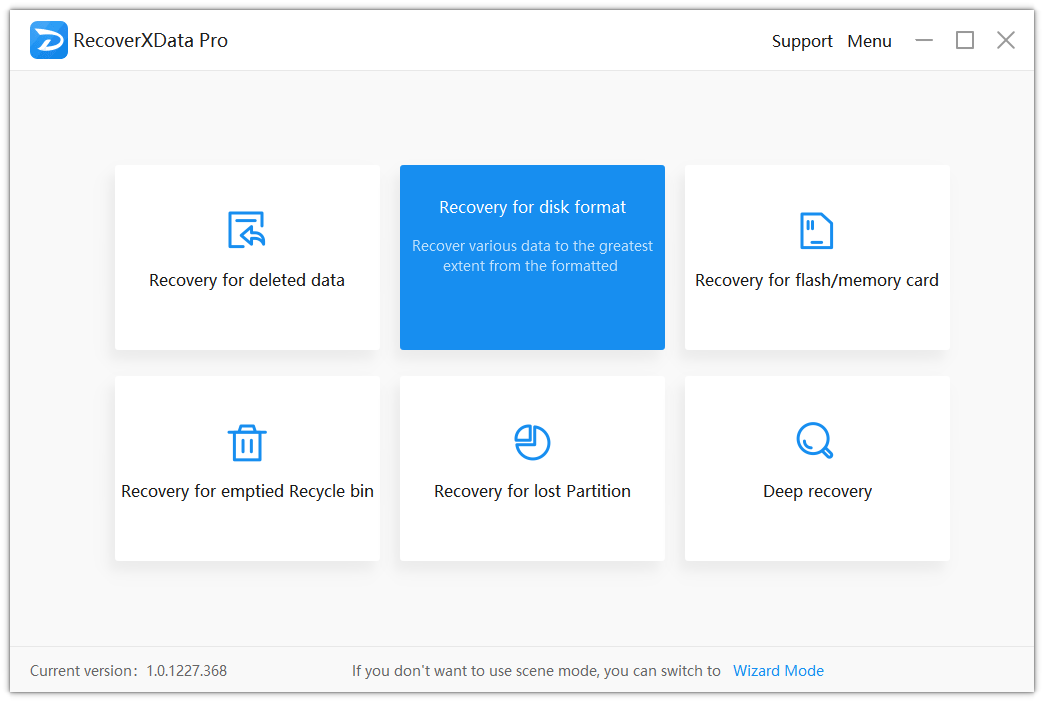
2.1.3 Recovery for flash/memory card
Choosing this option, you can scan the connected U disk, mobile hard disk, mobile phone SD card and other devices and find restore data from abnormal problems.

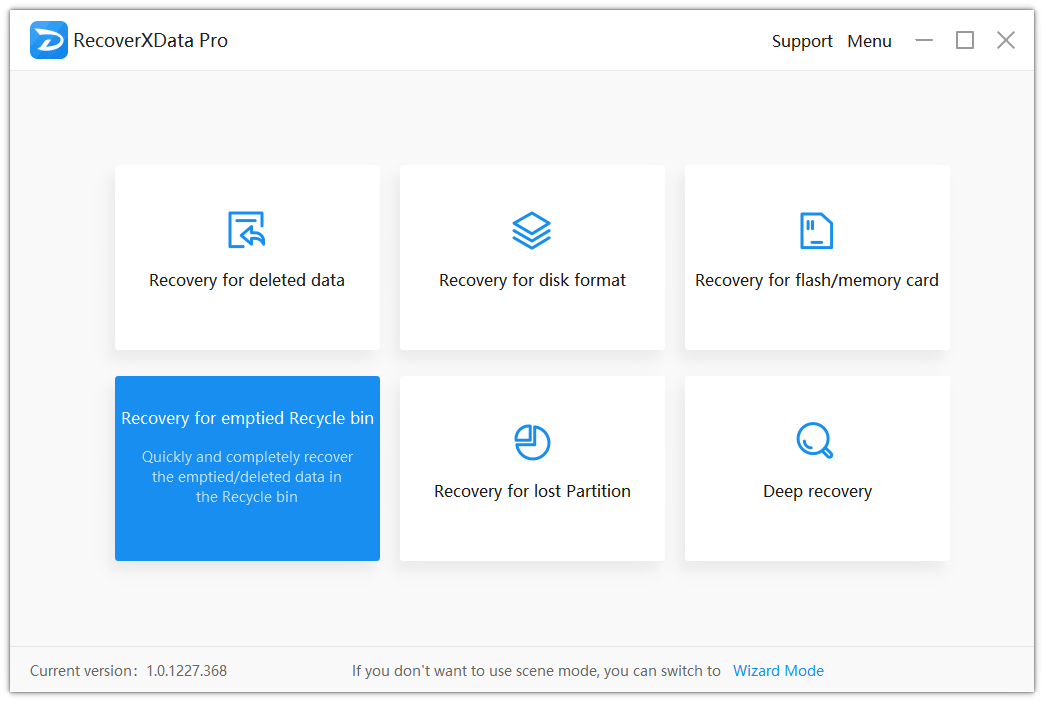
2.1.4. Recovery for emptied Recycle bin
This mode helps find the cleared files from an emptied Recycle bin. It supports restore the auto-renamed files by the Recycle bin.
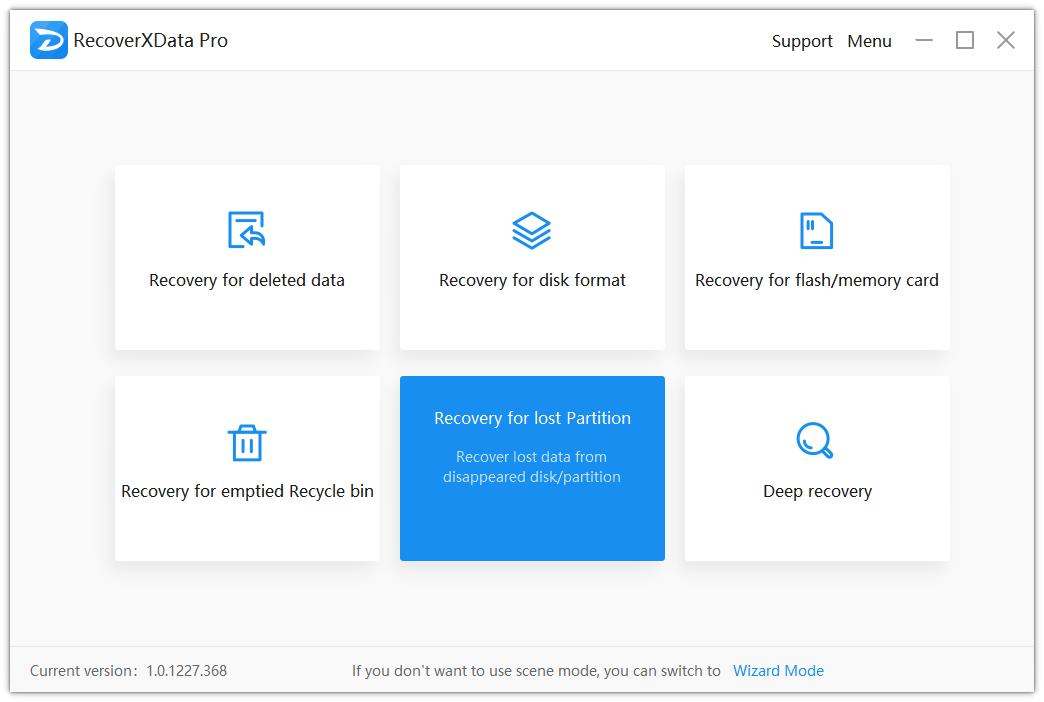
2.1.5. Recovery for lost Partition
Choosing this section, you can restore the lost or abnormal files due to the partition lost or partition abnormal caused by system re-installation or partitions combination.
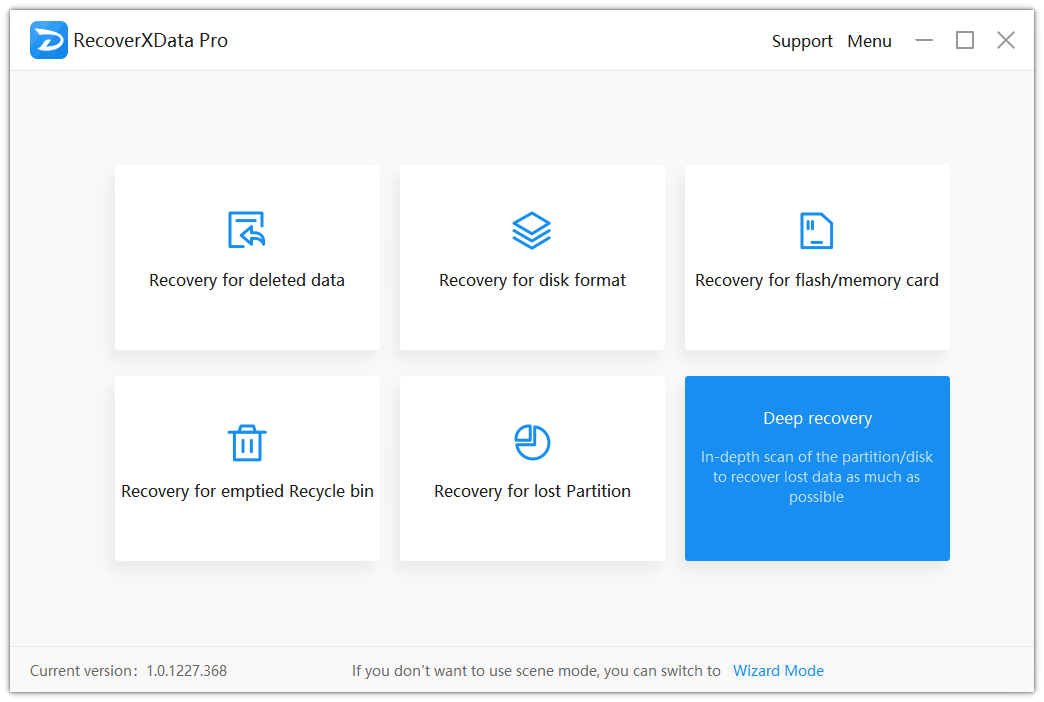
2.1.6. Deep recovery
Choosing this option, you can run a deepened scanning to scan the partitions and disk thoroughly and deeply to find the lost files to the greatest extent.
2.2 Data Recovery
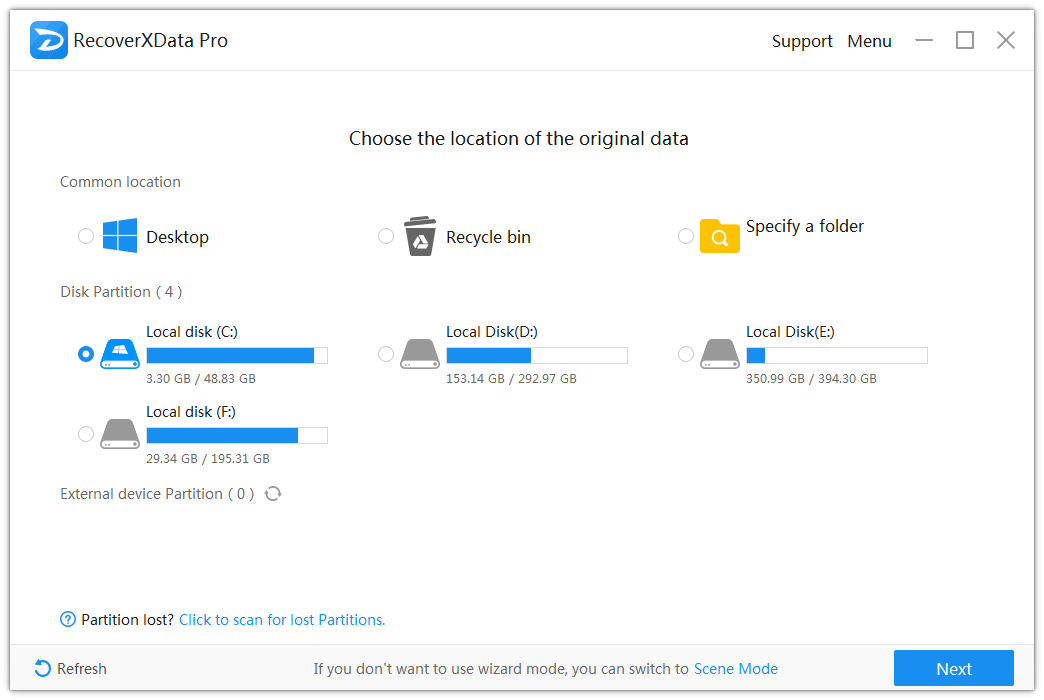
2.2.1. Choose the location of the original data
Choose a location where the original lost data was lost to check if you can find it.
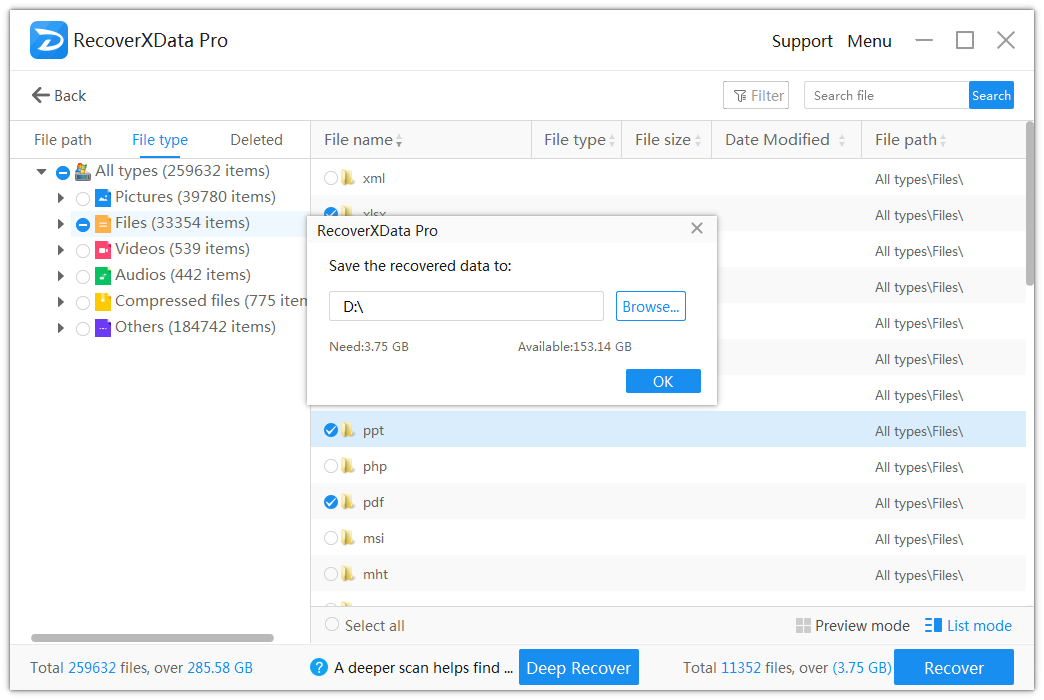
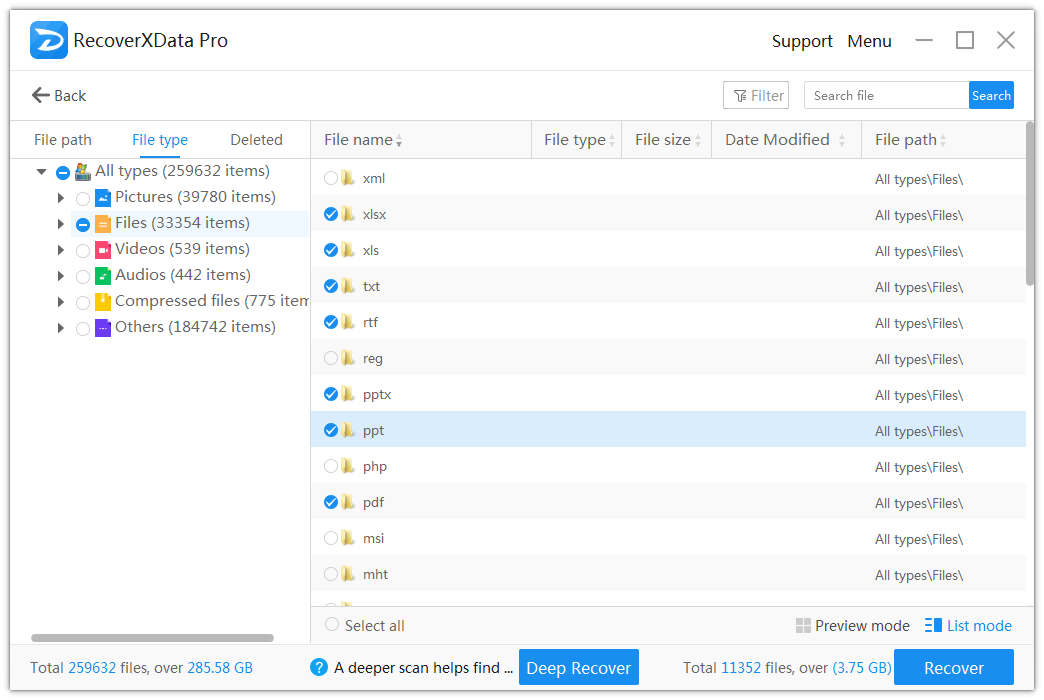
2.2.2 Choose File type
After the scanning, you can tick the file location, file type, etc. to specify the files to be recovered, and press the “Recover” button to recover.
2.2.3 Complete the recovery
Choose the location where you hope the recovered data to be saved.